You have a new product that you want to get to market and you need to make a label that fits. Here are the steps to help you go from a prototype label to a finished product.
Steps to creating a label for your new product
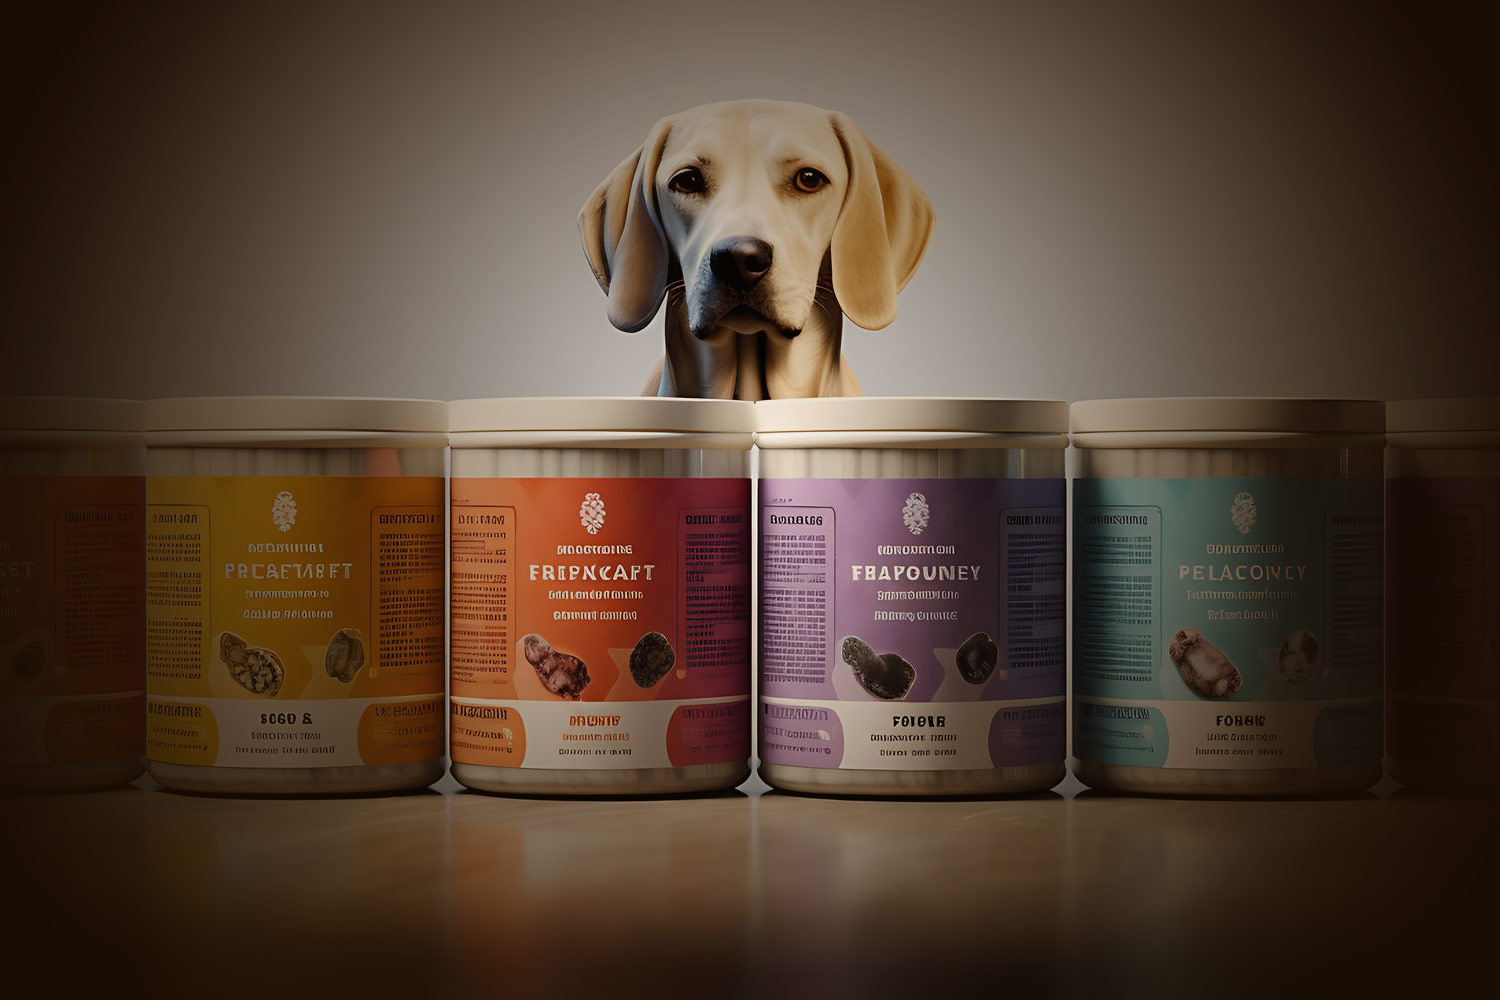
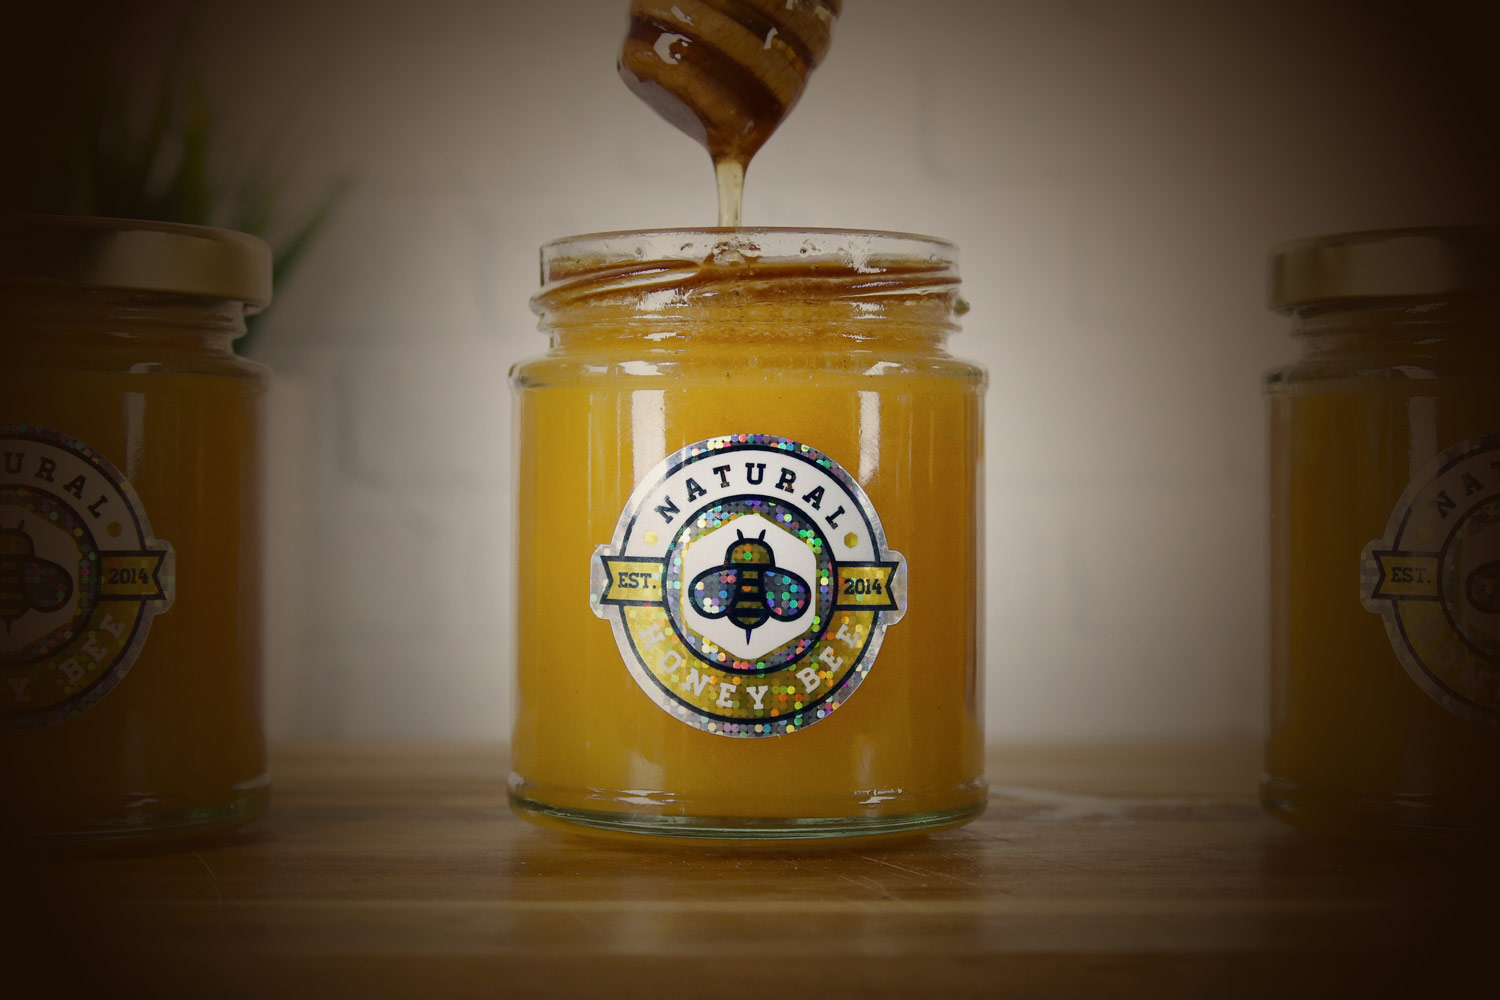
The first step is to measure your jar, container, bottle, can, etc. Notice any irregular surfaces since labels may not always lie flat when applied to a curved container. For example, you may need to make your label slightly shorter to avoid hitting the indent on the rim of a can.
Next, think about how you want the label to appear on the product. Does it need to wrap around the entire circumference, or just fit on the front, or cover a panel? Will the ends of the label need to overlap, or will there need to be empty space in between? One tip is to get some blank paper and a pair of scissors, cut a sample, and tape it onto your container to see how it fits.
Things a label company will need to know
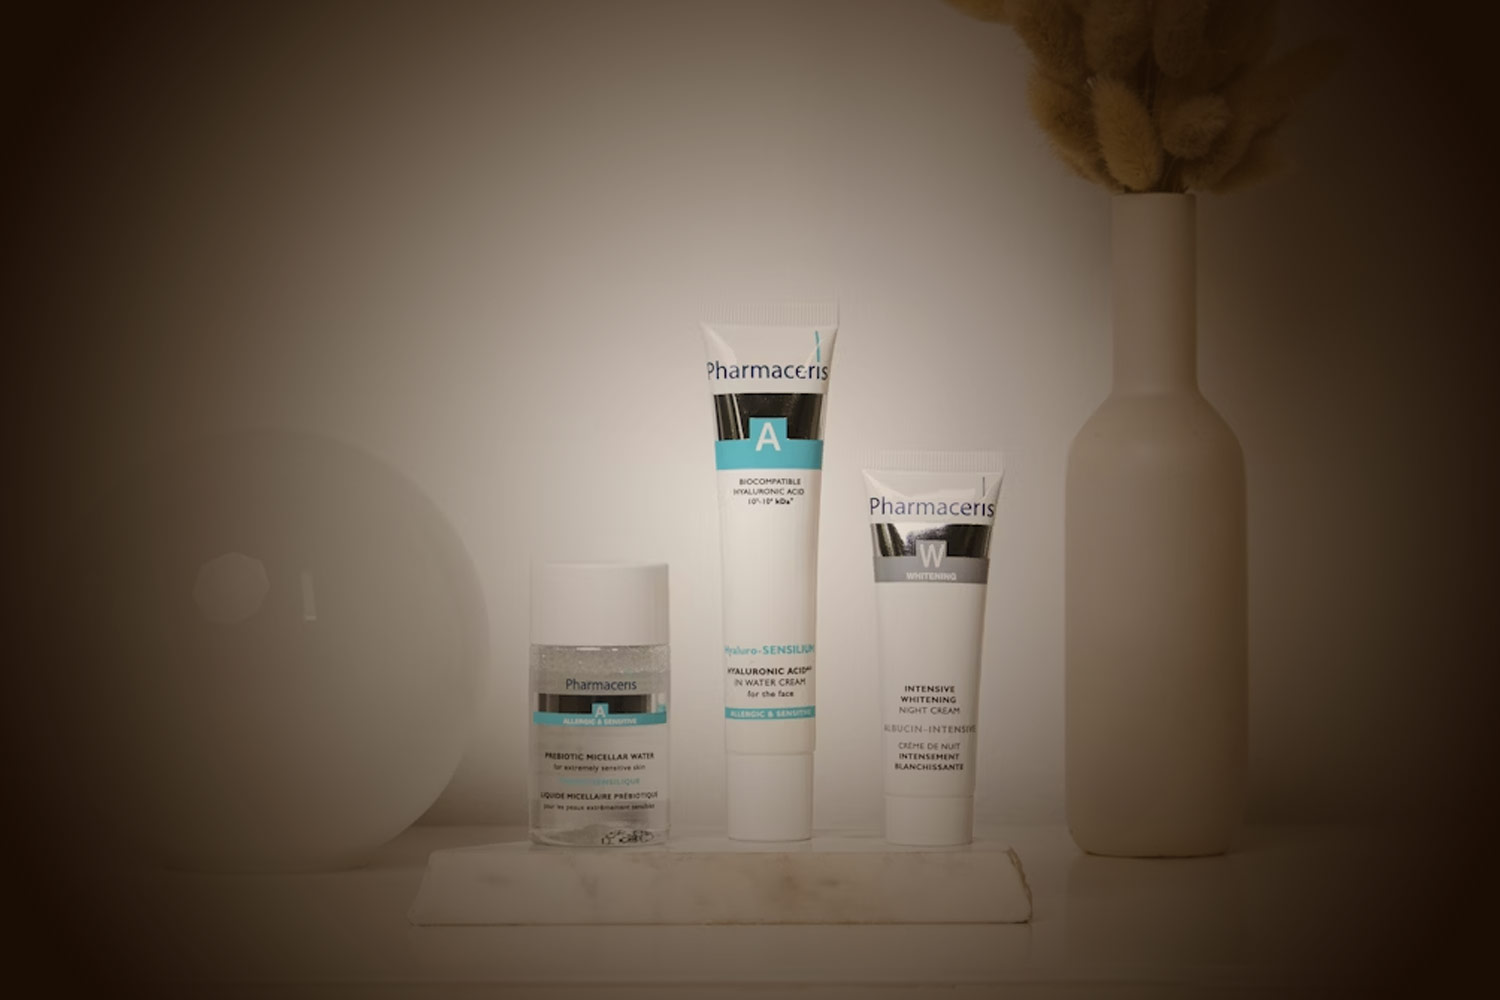
- How is the label being used? Will the product be kept indoors, outdoors, refrigerated, or in a wet environment? UV from the sun, heat, cold, and water can all damage your label and shorten its lifespan. Label materials have special adhesives to match your intended use.
- What type of container are you using? Another important thing to note is there are many different surfaces to apply a label. Glass, metal, and various types of plastics may require different adhesives. Not all surfaces are ready to receive a label so it’s advisable to always test a sample of the material on your vessel before printing. There are special adhesives that can stick better to difficult substrates.
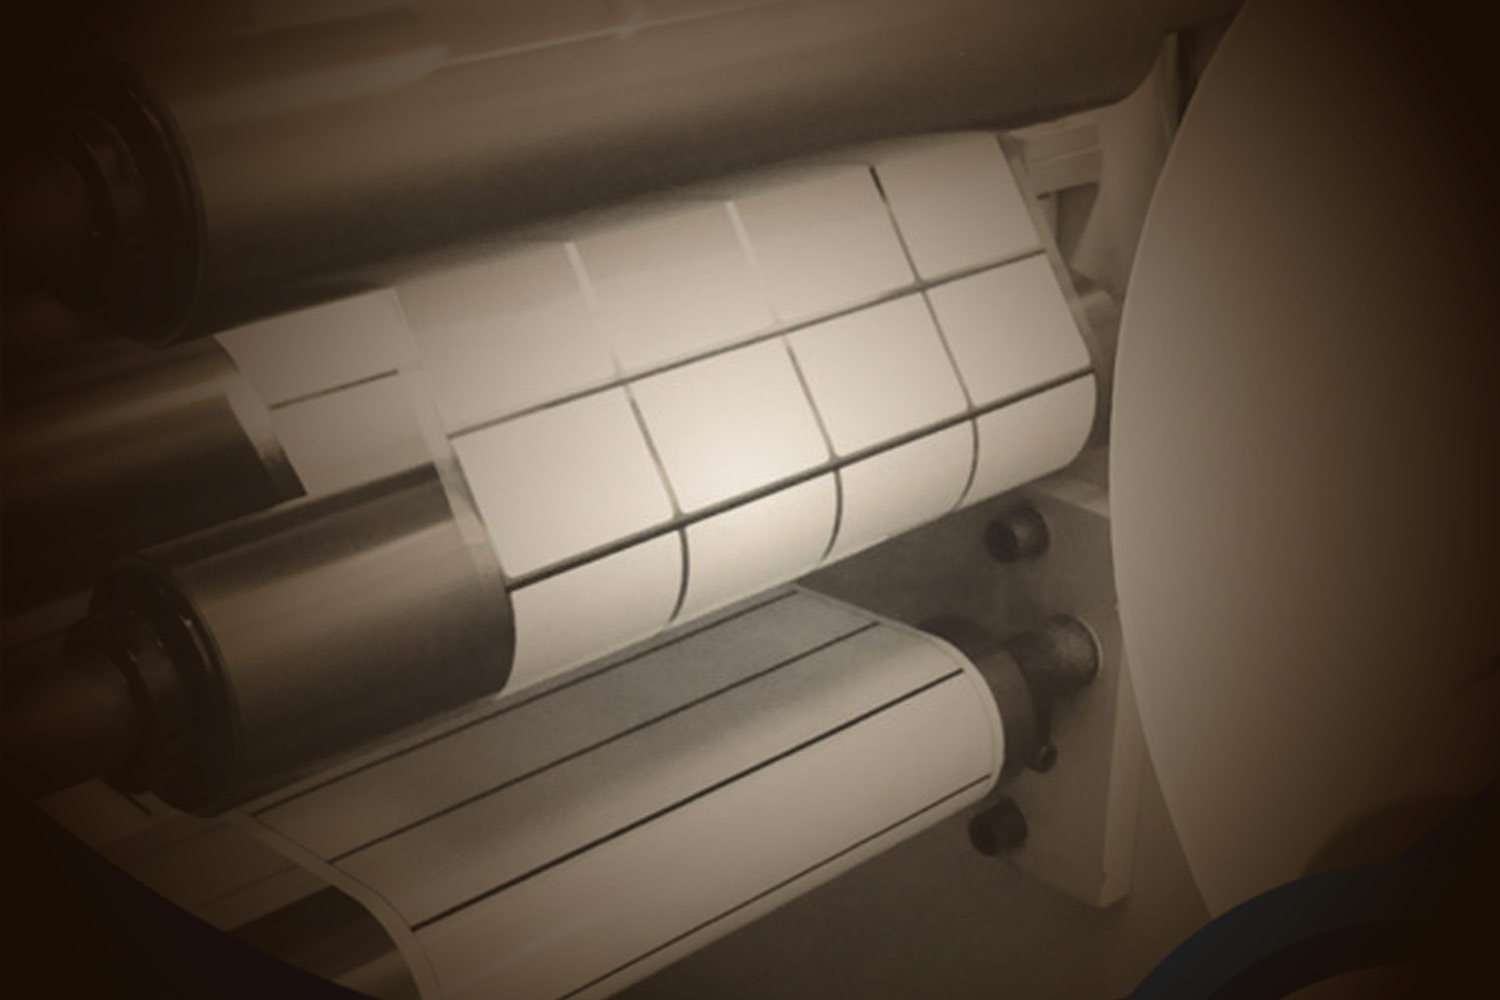
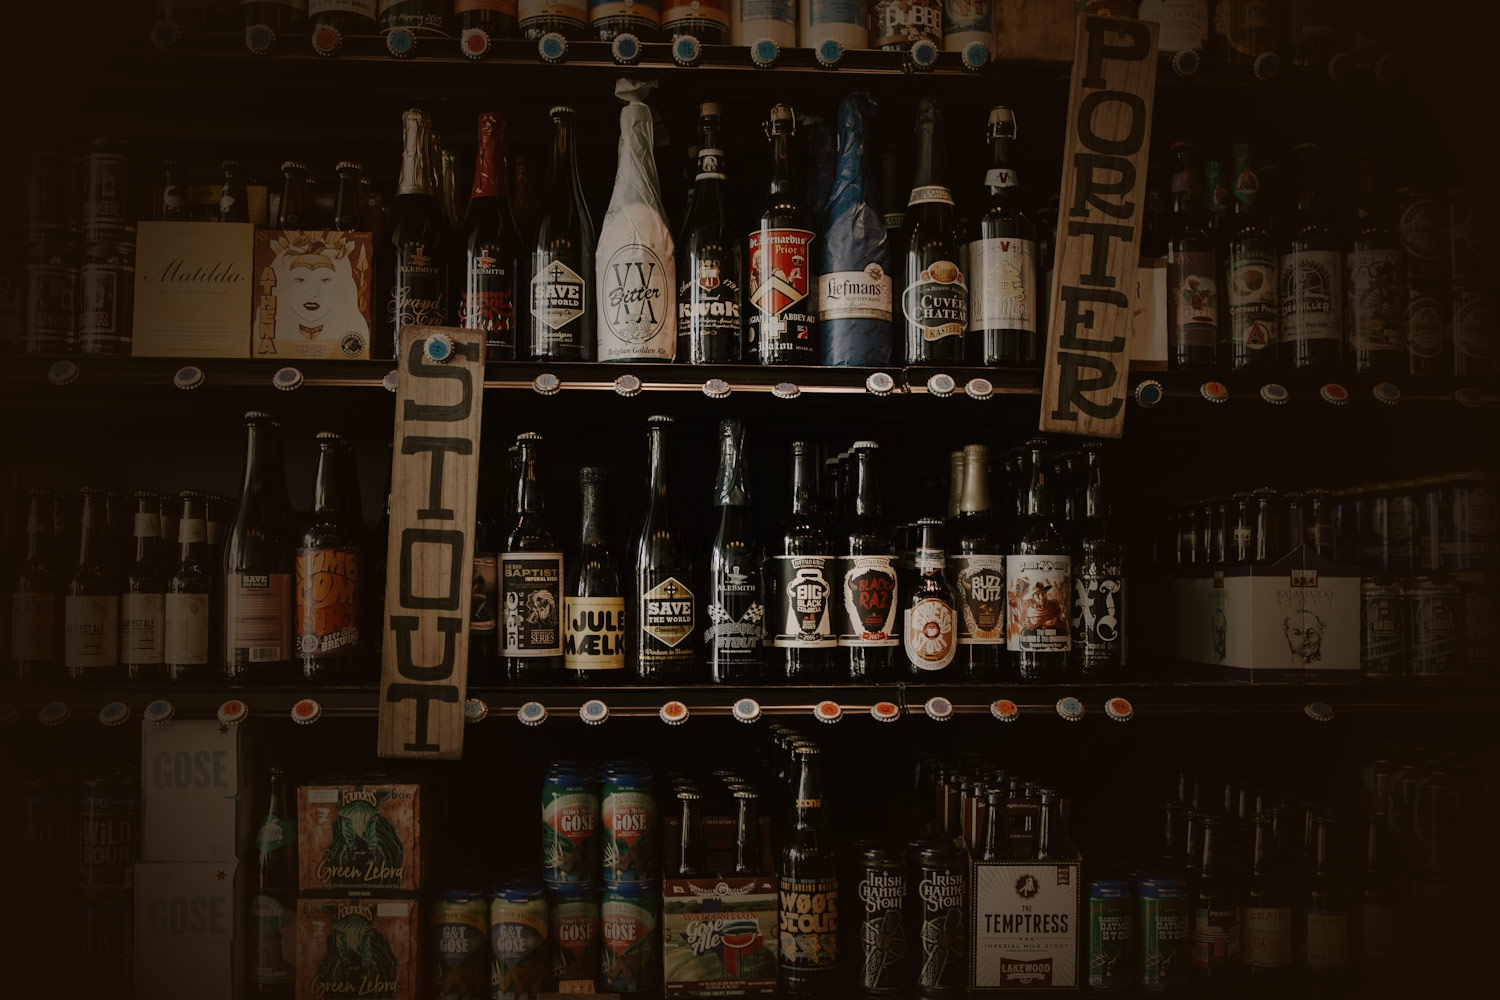
- Will the labels be machine or hand applied? Machines may have requirements regarding how the labels are wound so they come off in the right position. They may also need more durable label material and liners which allow running at higher speeds without snapping the liner and causing expensive down time.
- What label unwind position will you use?
- Size of label, ink colors, round or square corners, quantity per roll.
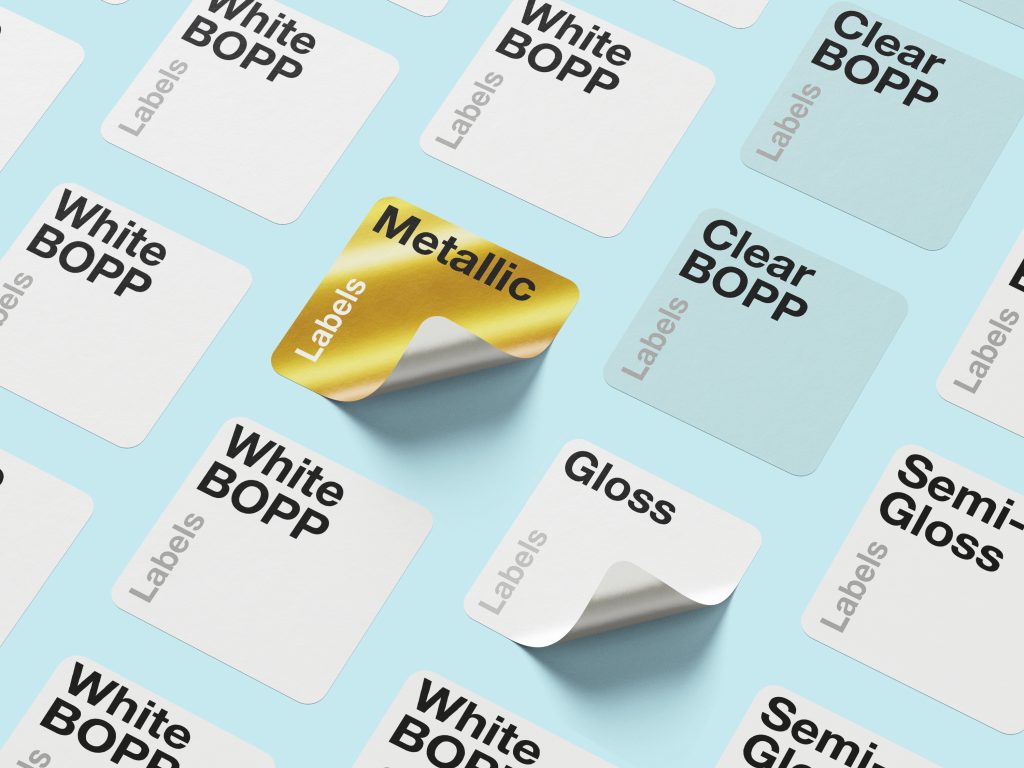
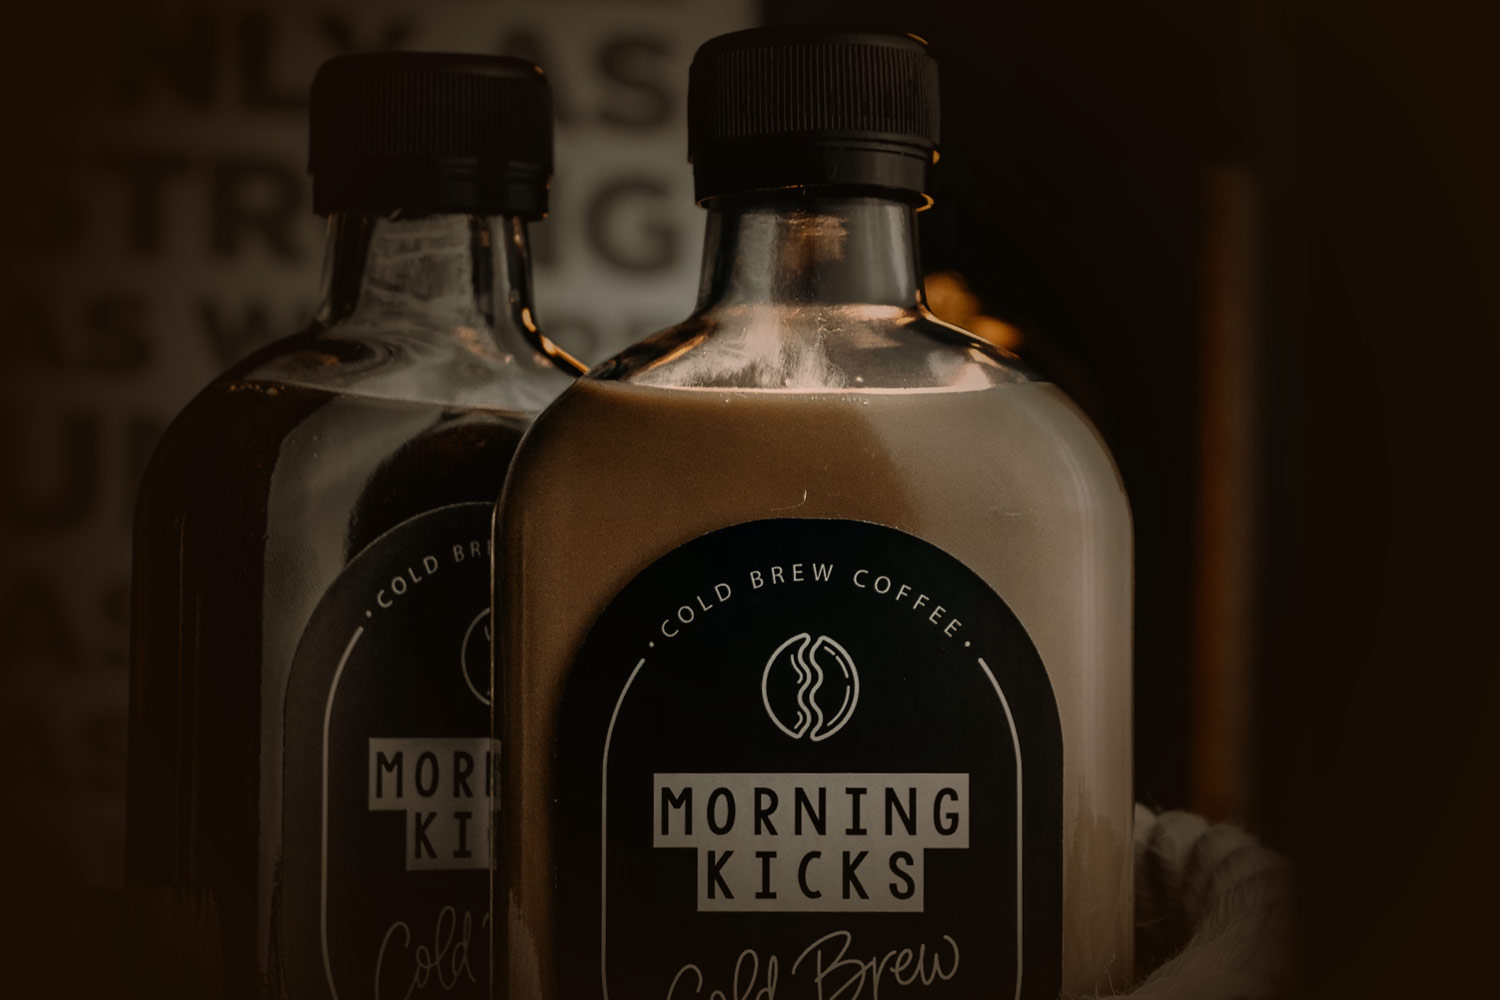
- Label material – paper or plastic? White, clear, metalized, or something custom? Ask for a sample of the proposed label stock, as it may look different on your actual product. One example is a clear label on an aluminum can. It’s important that the inks you choose are visible.
- Film lamination for protection or varnishes for a high-end look?
- Any embellishments needed, such as foil, embossing, or spot coatings?
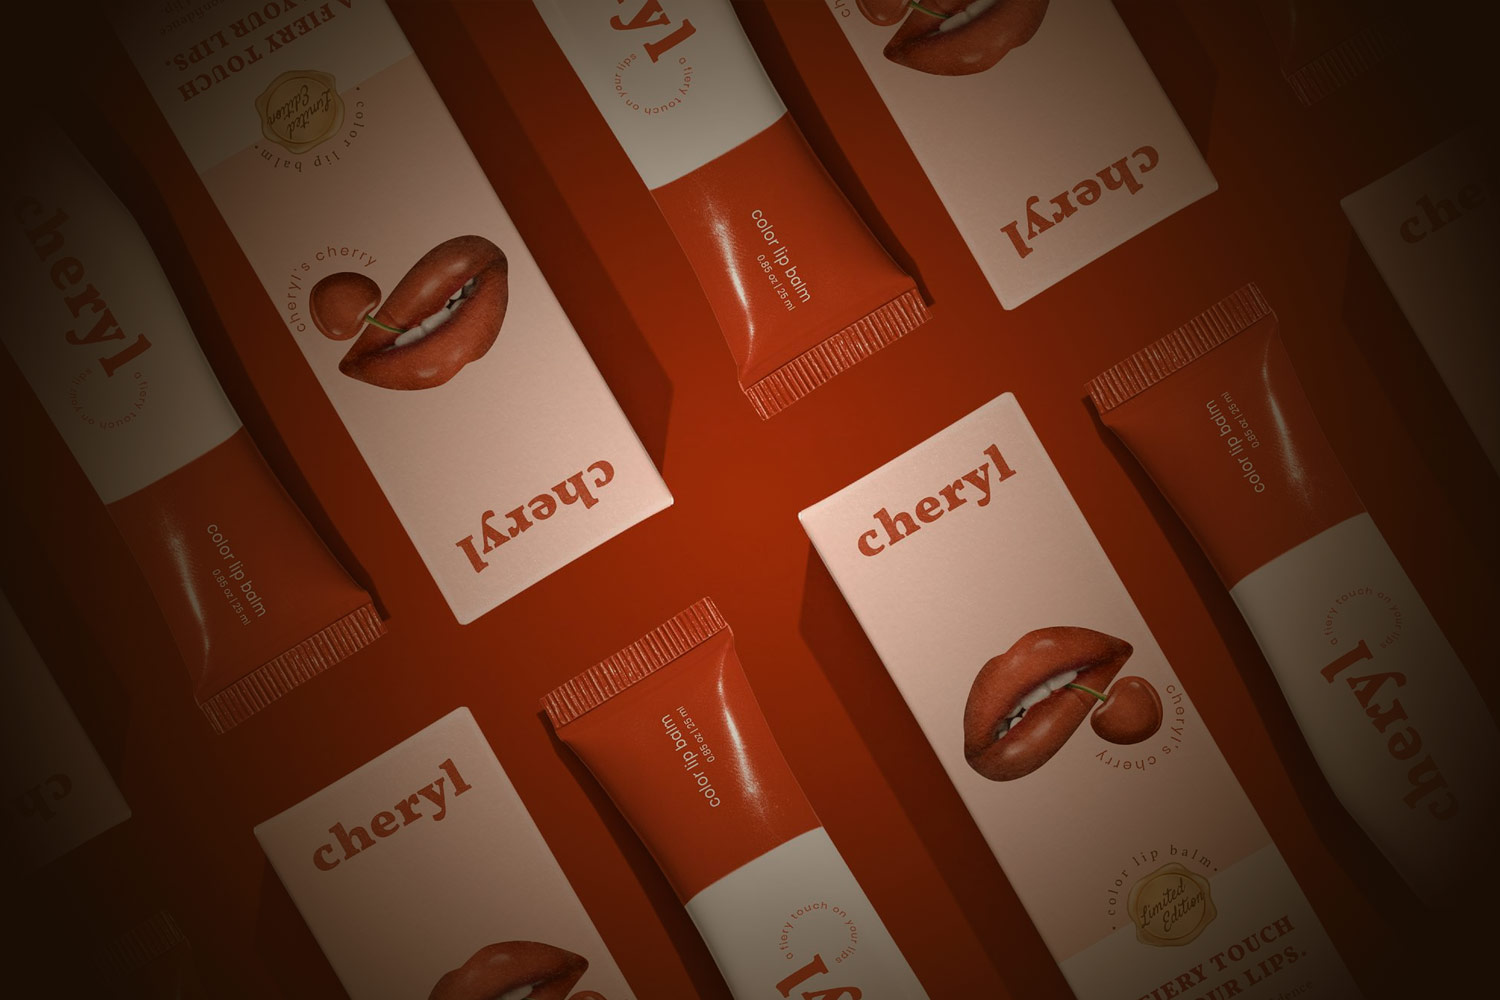
- If multiple SKUs are used, please provide, along with specific names of each label
Artwork guidelines for labels
- If you want rounded corners, 1/8” corners are standard
- Vector-based (Adobe Illustrator)
- Spot uv, foil, and special embellishments should be in their own layer within illustrator
- If this is printing on silver BOPP, we need white set as separate layer
- File set up to exact size of the label plus 1/8” bleed